
Contact forms are a must-have for most websites and blogs. It’s an easy and simple way for visitors and users to get in touch with you.
Unfortunately, WordPress and almost all themes don’t come with a contact form feature by default. And that’s not really a bad thing. Contact forms should be plugin territory. It’s better that way.
So, in this step-by-step tutorial, I’ll show you how to add a contact form in WordPress using WPForms, which is a free, simple, drag & drop plugin.
Add a Contact Form in WordPress Using the WPForms Plugin
WPForms is a reliable, simple, and optimized WordPress form plugin with over 3 million downloads. You can use it to create all sorts of forms, but, in this tutorial, I’ll only focus on creating a contact form using its free version.
Its actual name in the WordPress repository is “Contact Form by WPForms – Drag & Drop Form Builder for WordPress”. For obvious reasons, I’ll only use the short version. 🙂
Step 1
Install and activate the WPForms plugin. If you need help, here’s how to install a plugin in WordPress using 4 different methods.
Step 2
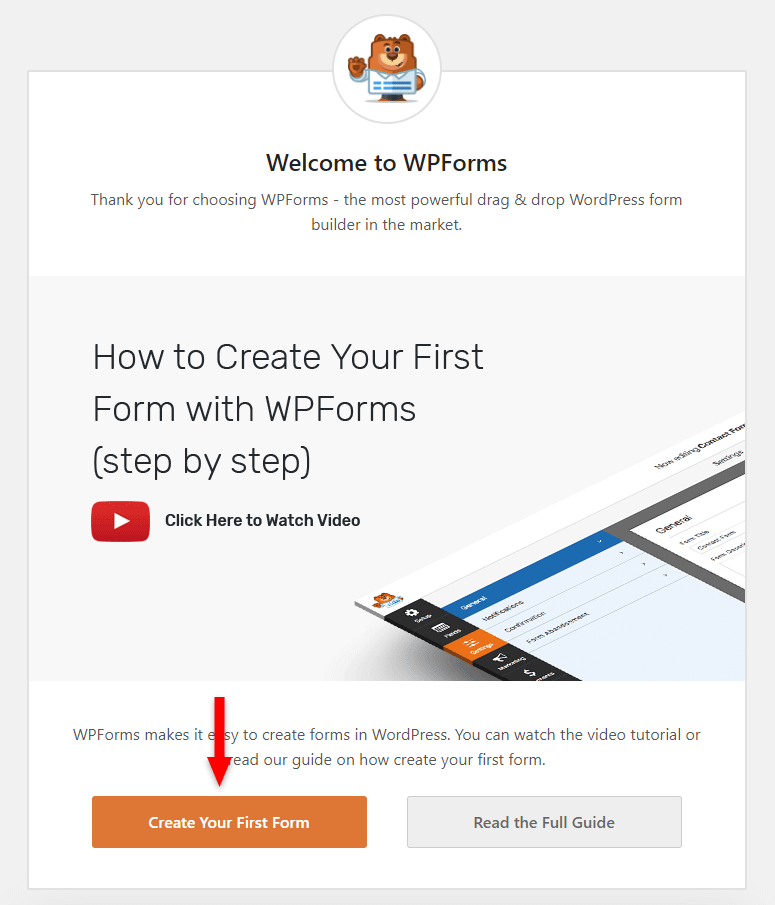
After activating the plugin, you’ll be redirected to a “Welcome to WPForms” page, where you can click on the Create Your First Form button.
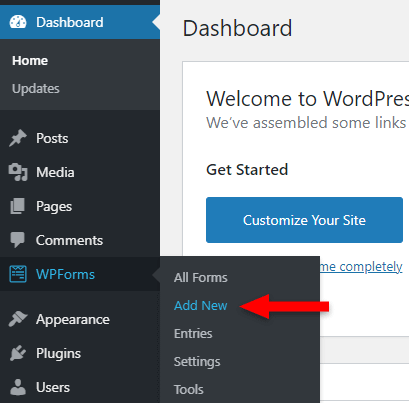
Or, you can go to WPForms > Add New from your dashboard’s menu. Both ways will send you to the same place, where you can start creating your contact form for WordPress.
Step 3
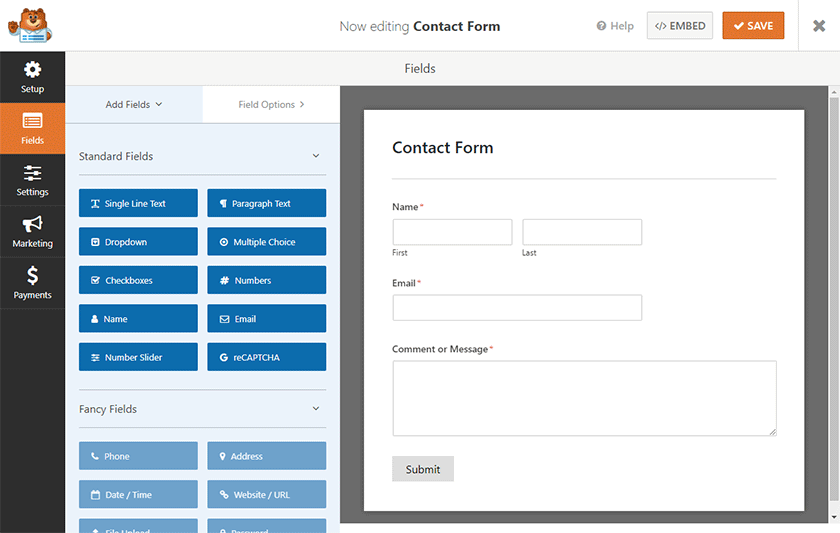
Add a name for your contact form in the Form Name field, then select the Simple Contact Form template so you don’t have to start from scratch.
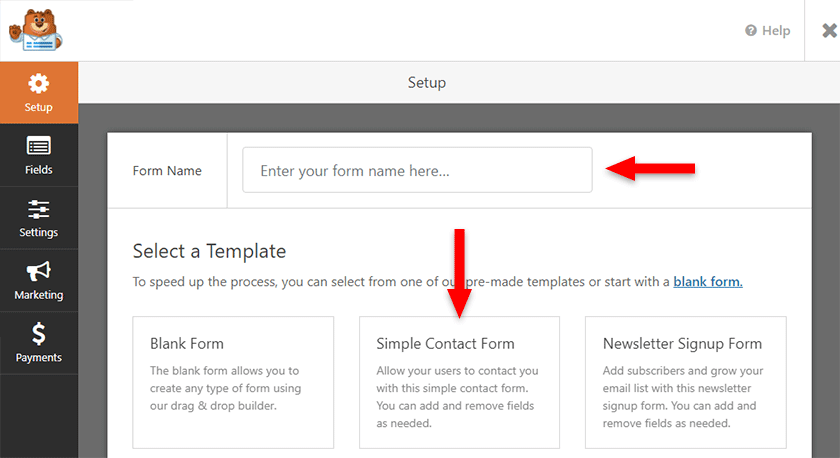
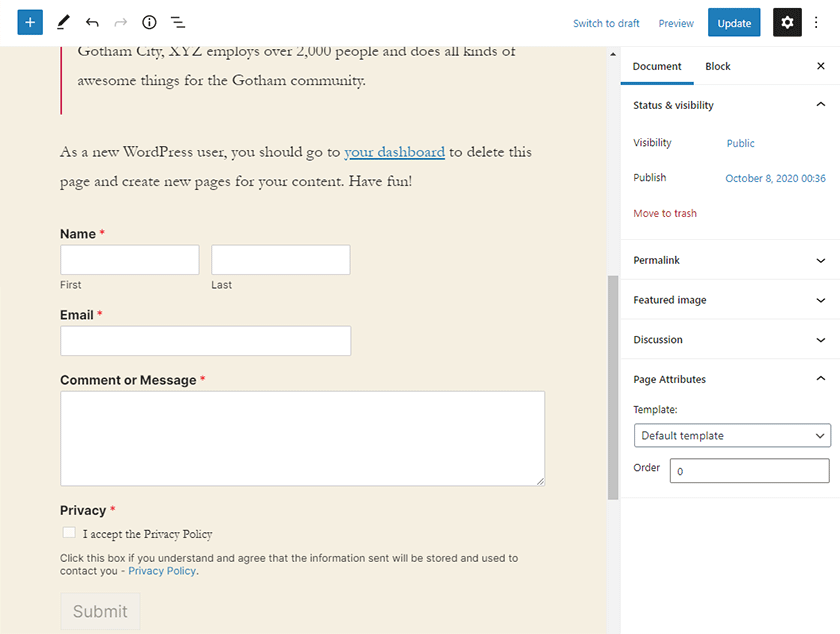
You’ll see a WordPress contact form that contains the following default fields:
- Name: First and Last;
- Email;
- Comment or Message.
If you’re ok with those, you can leave it like that and skip to step 5. Otherwise, check the next step to see how you can edit the contact form.
Step 4 (Optional – if you want to edit the default template)
To edit the default fields or others that you might add, just hover over them with your mouse cursor and click them. Once you click them, a panel with options will appear on the left.
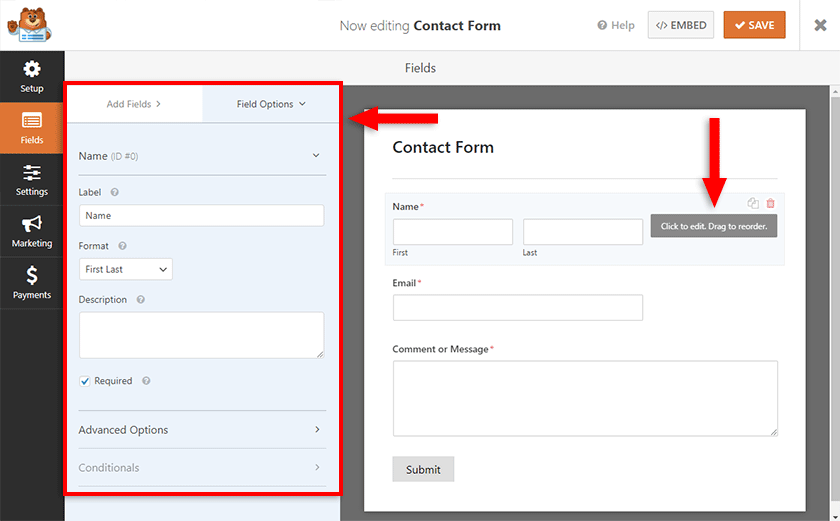
There, you can edit several things for that field, such as changing the Label or Format, making it required or not, and so on.
If you want to add more fields to your WordPress contact form, you need to have the Add Fields tab selected, then drag & drop what you want, where you want it.
As a quick example, let’s add a Privacy consent checkbox for the European Union’s GDPR law. The users will have to check the box if they understand and agree that the information from the contact form will be collected in order to be contacted.
The GPDR law is very confusing, so I don’t know if such a checkbox is necessary, or if it’s only necessary in certain cases. Some add it, some don’t… I recommend doing some research yourself.
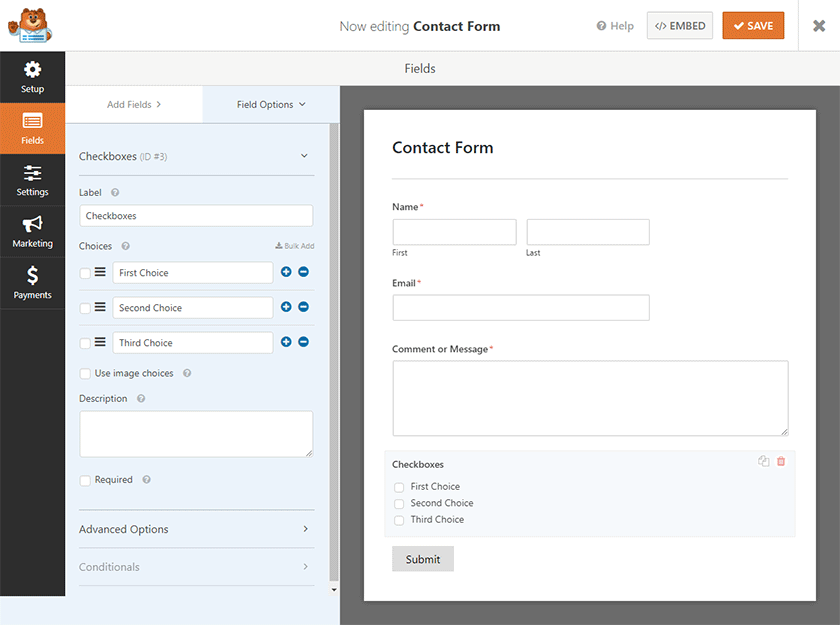
So, drag & drop a Checkbox field somewhere on your WordPress contact form. Normally, a checkbox like this is added right before the submit button.
By default, multiple checkboxes will appear with the label Checkboxes. We’ll have to do some modifications.
So:
- Change the Label to “Privacy” or whatever you wish;
- Edit the text for the first checkbox. I added “I accept the Privacy Policy”;
- Remove the last two checkboxes by clicking on the dash icon (–);
- Add an explanatory Description for the checkbox;
- Check the Required option.
The result will be something like this:
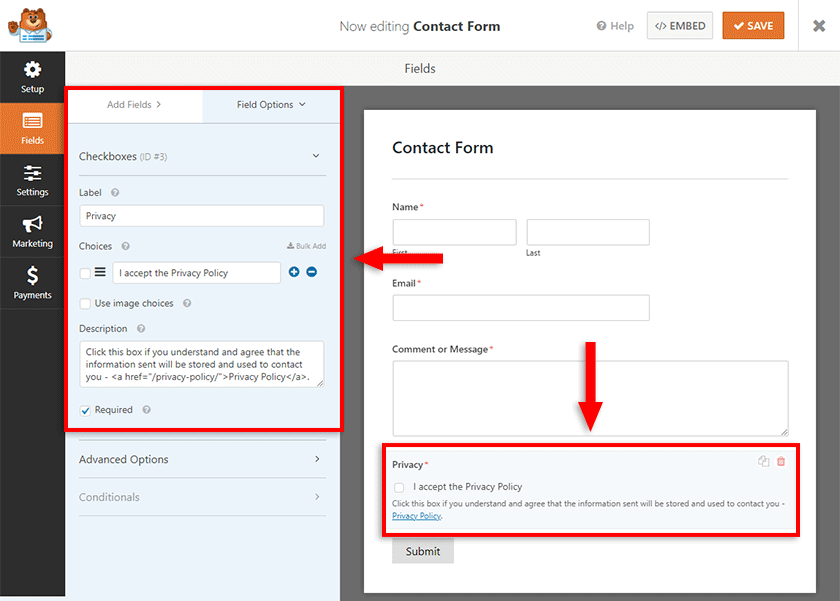
As you can see in my description, I also added a link to the Privacy Policy page. That’s possible because WPForms accepts HTML on some labels and text areas.
To add a link, add this HTML code, but add your own page slug (e.g. /privacy/) or full link (e.g. https://example.com/privacy/) between the quotes of the href attribute.
<a href="/policy/">Privacy Policy</a>or
<a href="https://example.com/privacy-policy/">Privacy Policy</a>Looking to Buy or Sell WordPress Sites?
At ReadyShip, we offer an all-in-one WordPress solution for those looking to start a blog or site, as well as the opportunity for WordPress developers or professionals to sell their products!
Step 5
Once you’re done editing the WordPress contact form, go to the Settings > Notifications section. The important part here is to make sure that you have the correct email address where the WPForms plugin will send the messages to.
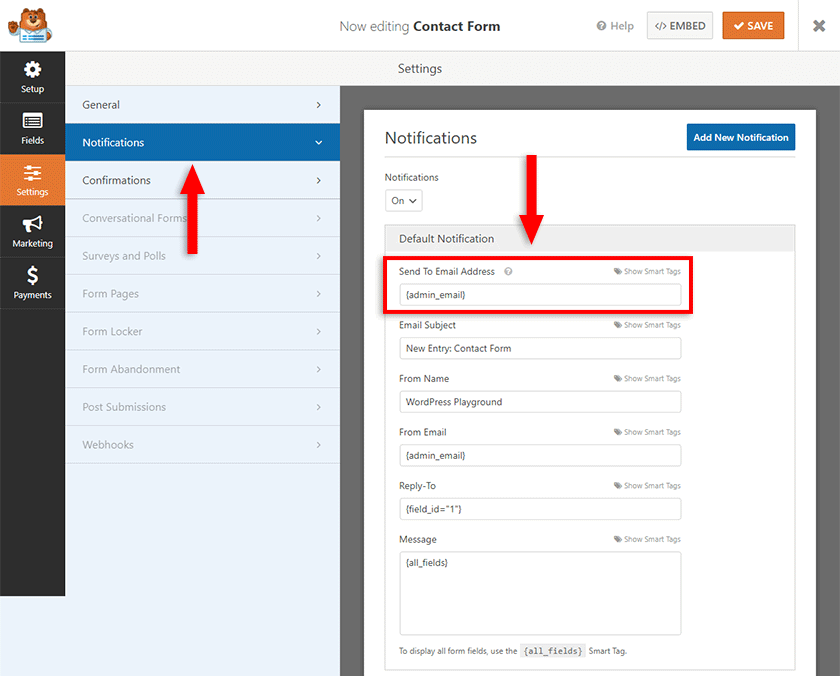
By default, the Send To Email Address field will be set to {admin_email}. This means that it will use the email address added in WordPress, in Settings > General.
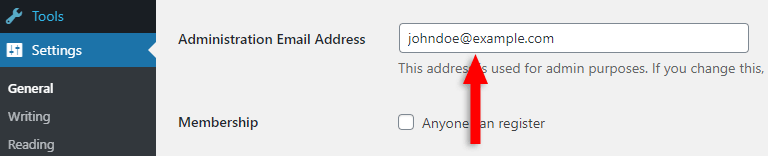
Editing the General settings is one of the most important things to do after installing WordPress. Make sure you go through them.
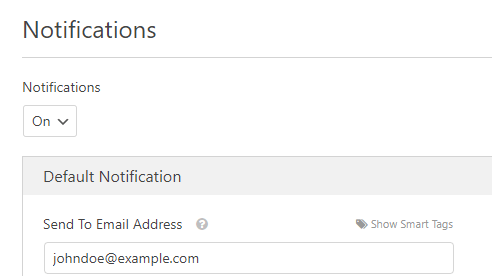
So, if you’re ok with that email address receiving the contact form messages, leave it as is in the WPForms Notifications settings. Otherwise, remove it and add the one that you want (e.g. johndoe@example.com or johndoe@gmail.com).
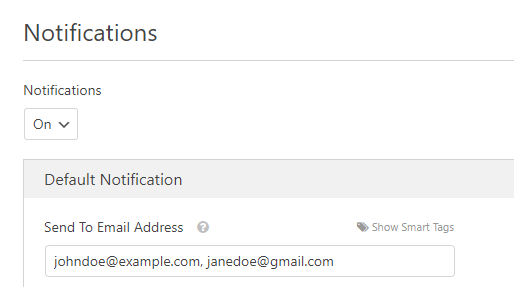
You can also add multiple email addresses separated by a comma if you want the messages to be sent to more than one email address.
If you’re not using an SMTP (more details in the next section), you can leave the From Email field set to {admin_email}. If you’re using an SMTP, you should add the email address that you used to set it up; otherwise, the emails might not be sent.
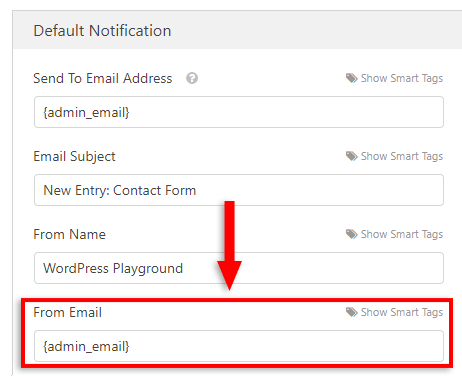
In any case, the email address in the From Email field should be based on your domain (e.g. @example.com), even if the email address doesn’t actually exist. If it’s from a standard email (e.g. @gmail.com), it will affect the deliverability, meaning that the emails will most likely end up in the Spam folder.
Don’t confuse the From Email field with the sender’s email address, as in the user who fills out the form. The user is sending the message from your site, from the contact form. So, WordPress is sending you the email with the message first. Then, when you’ll reply from your webmail tool (e.g. Gmail), it will reply to the email address added by the user in the Email field.
Step 6
Once you’re done creating the contact form for WordPress, click on the big Save button in the top-right.
Now, let’s see how to add the contact form in WordPress. The way to add depends on what you’re using to build the page. I’ll show you how to do it based on the most common methods.
Using Gutenberg
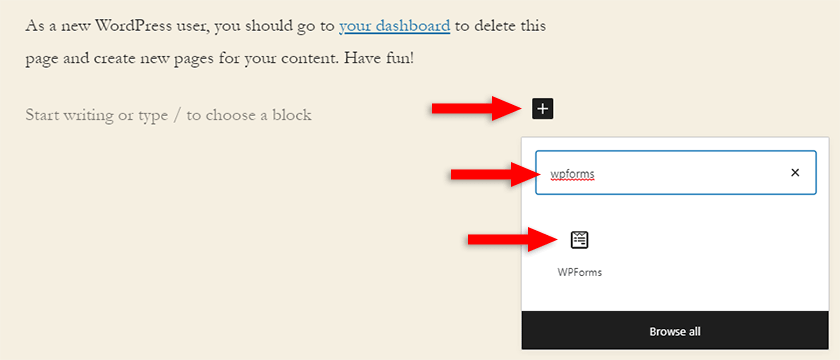
If you’ve created the page using the default Gutenberg editor, then all you have to do is to:
- Edit that page;
- Click the + (plus) icon to add a block;
- Type “wpforms” in the search box;
- Click on the WPForms block to add it.
Now, choose the name of the contact form that you want to add to your WordPress page. I simply named it Contact Form.
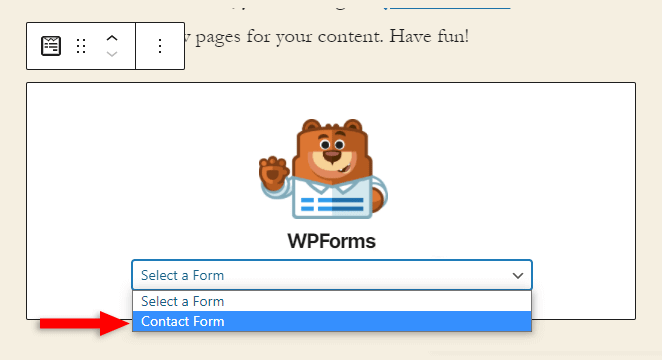
Publish/Update/Preview the page, and you should see it there. You can also see a preview inside Gutenberg, but it will most likely look a bit different than on the actual page.
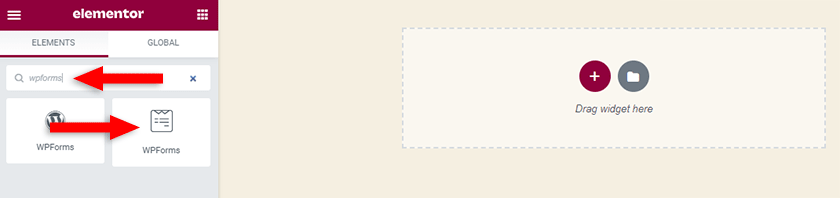
Using Elementor
To add the WPForms contact form in Elementor, you have to:
- Edit the page with Elementor;
- Type “wpforms” in the widget search box;
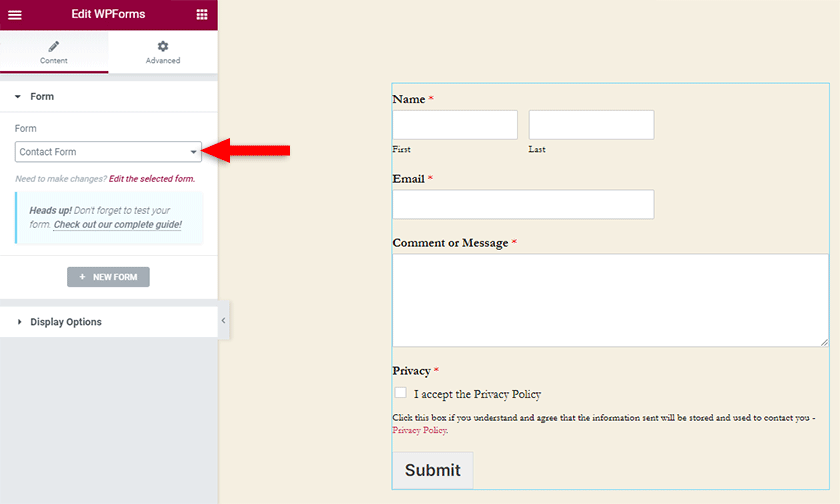
- Drag & drop the WPForms widget in whatever section of the page you want.
Then, select the name of the contact form that you want to add to the WordPress page. I simply named it Contact Form.
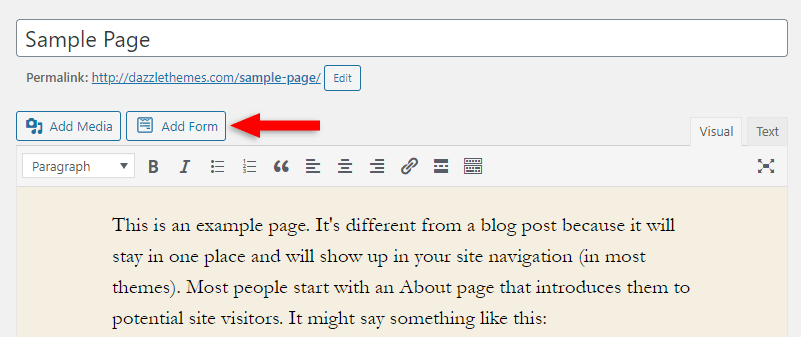
Using the Classic Editor
A lot of WordPress users still hate Gutenberg, so they’re using the Classic Editor. If you’re one of them, then here’s what you need to do to add a contact form.
Edit the page and click on the Add Form button found above the editor.
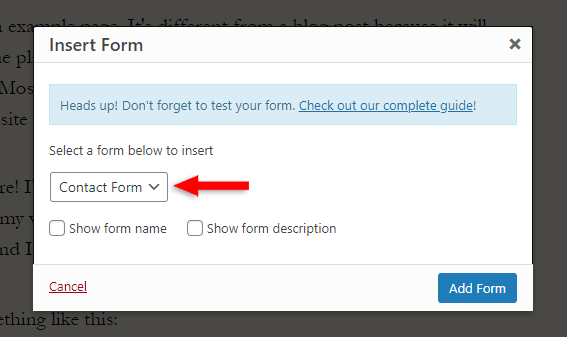
Select the contact form that you want, in case you have more than one, then click on the Add Form button.
Using page builders or methods that require shortcodes
If you’re using some method or tool where you can’t simply select a contact form created with WPForms, then you’ll have to use a shortcode to display it.
To get the shortcode, go to WPForms > All Forms from your dashboard’s menu. There, from the table, copy the shortcode for the contact form that you want to add in WordPress.
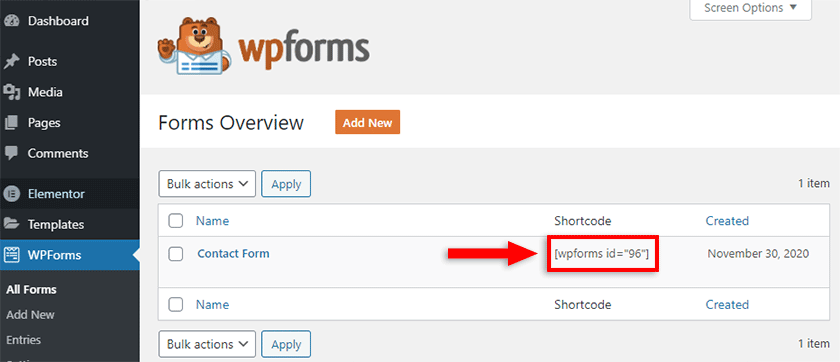
Now, depending on what you’re using to build the page, paste the shortcode somewhere in that tool.
Step 7
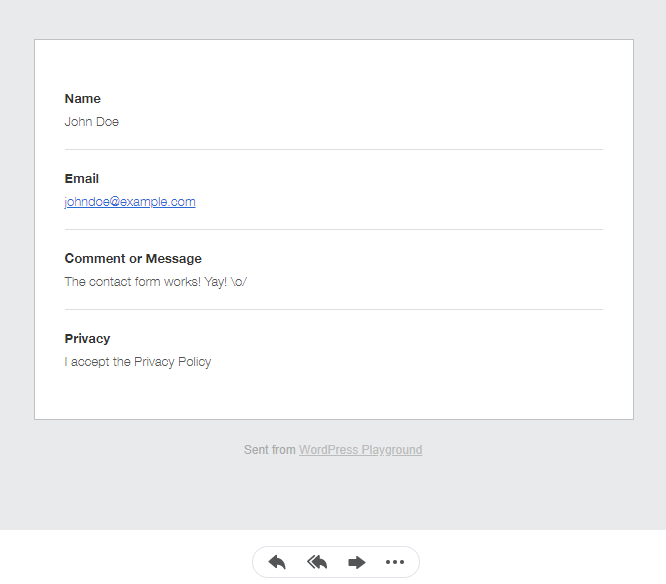
Once the setup is done, all that remains is to test the contact form. So, go to the WordPress page where you added it, such as the Contact page, insert the info in the fields, and click the submit button.
Then, check your email to see if the message was sent successfully.
In some cases, you might not receive emails, or they end up in the Spam folder. That most likely means you’ll need an SMTP service.
Use SMTP if the Contact Form Doesn’t Send Emails, or Emails End Up in Spam
The WPForms plugin relies on WordPress to send emails. And, by default, WordPress relies on the PHP mail() function to send emails. I know, that’s too techy, but you don’t need to know what it is or how it works. All you need to know is that:
- Some web hosts disable it. ReadyShip doesn’t, just so you know 😀 ;
- Some servers might be misconfigured, thus the
mail()function might not work properly or at all; - It’s not reliable. A lot of emails might end up in spam, for example.
So, in those cases, you’ll need to get an SMTP (Simple Mail Transfer Protocol) service, such as SendGrid, Mailgun, Elastic Email, etc. SendGrid has a free plan, so you might one to use that, especially if you’re new to this.
Then, you need to set it up in WordPress. But don’t worry! I’ve written a step-by-step tutorial on how to configure SMTP in WordPress with the “WP Mail SMTP” plugin, which is a plugin created by the WPForms developers. So, you’ll also have maximum compatibility between the two plugins.
I always recommend getting an SMTP service and not relying on WordPress’ default mailing system unless you rarely receive emails, and they’re not vital for your business.
Looking for an All-in-One WordPress Solution?
ReadyShip offers you ready-made WordPress sites and blogs, plus high-quality managed AWS hosting with free SSL and CDN, at no initial cost!
The End
As you can see, WPForms is an easy plugin that will allow you to add a contact form in WordPress without any hassle. Add on top an SMTP service hooked through the WP Mail SMTP plugin, and you’ll greatly improve the deliverability and security of all your emails, not just the ones sent from the contact form.
If you have any questions or want to pitch in, feel free to leave a comment.