A wishlist is a collection of products saved by the customers to their accounts. Those are the customers’ favorite products that they intend to buy at some point.
Wishlists bring a lot of benefits, improving your conversion rate and user experience. That’s why every successful and professional online store has a wishlist implemented for their customers. So, yours shouldn’t be any different.
That’s why, in this step-by-step tutorial, I’ll show you how to add a wishlist in WooCommerce using a simple and free plugin.
Add a Wishlist in WooCommerce with a Free Plugin
The plugin I recommend is called TI WooCommerce Wishlist. It’s a free and user-friendly WordPress plugin, which allows you to easily add a wishlist function in WooCommerce.
Currently, it has over 90,000 active installations and a 4.8/5 rating.
Now, let’s see how to set it up.
Looking to Buy or Sell WordPress Sites?
At ReadyShip, we offer an all-in-one WordPress solution for those looking to start a blog or site, as well as the opportunity for WordPress developers or professionals to sell their products!
Step 1
Install and activate the TI WooCommerce Wishlist plugin.
If you need help, here’s a tutorial on how to install a plugin in WordPress using 4 different methods.
Step 2
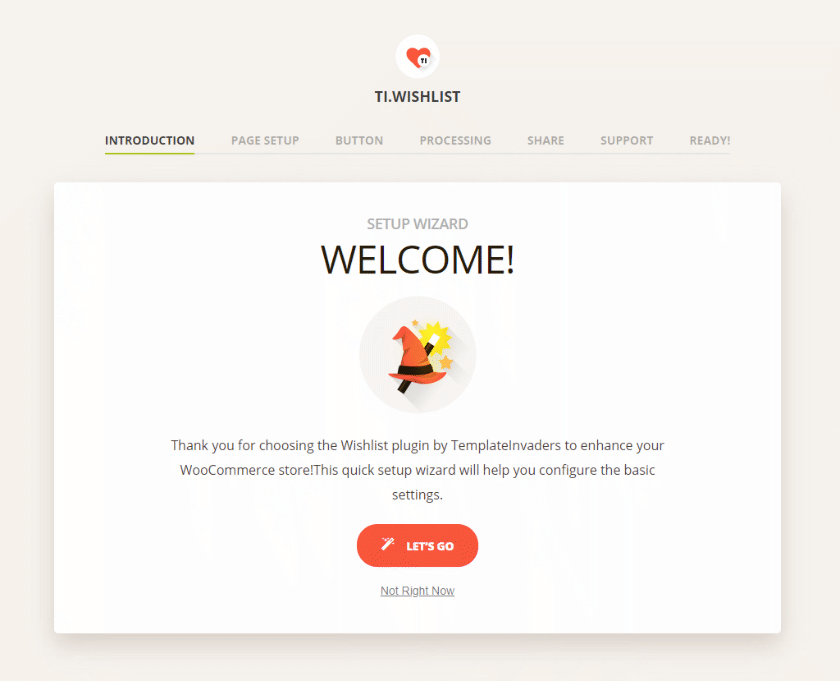
After activating the TI WooCommerce Wishlist plugin, a setup wizard will start automatically with some basic settings that you can set up.
It will begin with the Introduction, where you’ll have to click on the Let’s Go button to proceed to the next step.
Step 3
Page Setup is the next step. Here, you’ll have:
- Default Wishlist Name – Give your WooCommerce wishlist a name, but make sure it’s something that makes sense for your customers. For example: “My Wishlist”, “My Favorites”, or something like that.
- My Wishlist – Leave the Create Automatically option if you haven’t created a special page already for your WooCommerce wishlist. The plugin will create one for you.
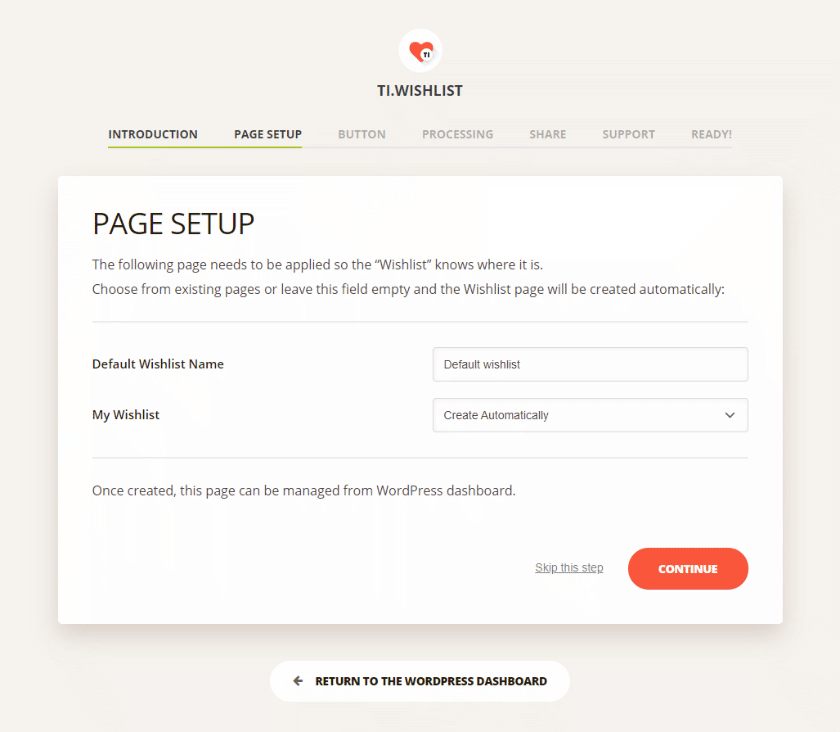
Click on the Continue button when you’re ready.
Step 4
At the Button step, you’ll have some customization options for your “Add to Wishlist” button that will appear in the WooCommerce products.
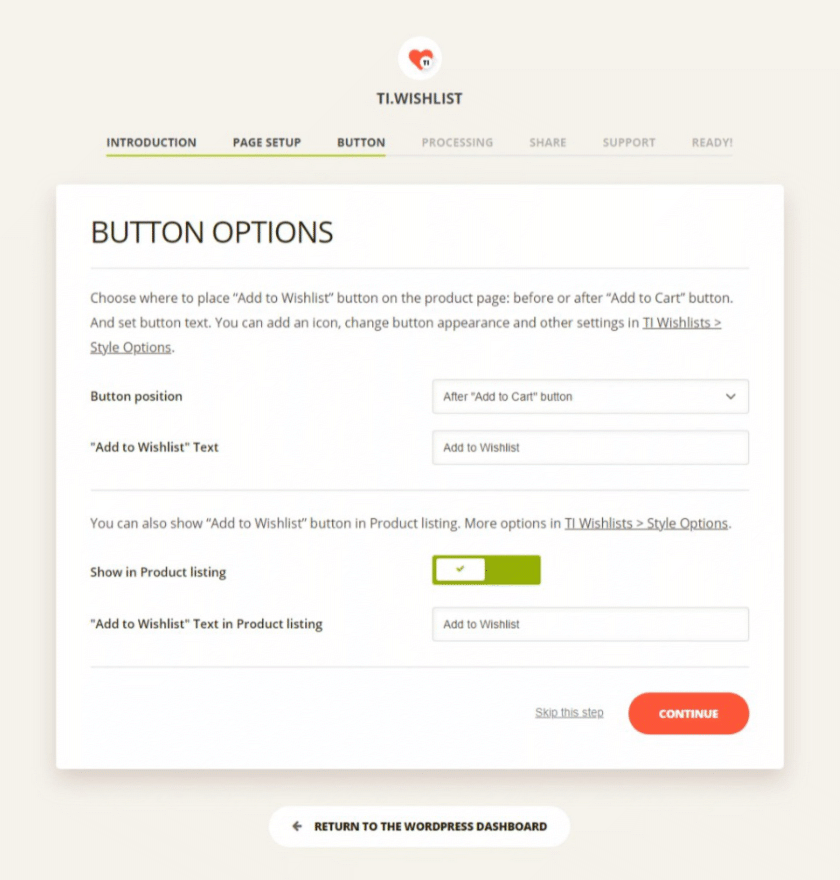
- Button position – You can put the “Add to Wishlist” button in several places:
- After “Add to Cart” button – This is the default position;
- Before “Add to Cart” button;
- Custom position with code – You’ll need web/WordPress development knowledge for this.
- “Add to Wishlist” Text – Here, you can change the button’s text from the standard “Add to Wishlist”.
- Show in Product listing – Leave it enabled if you want the “Add to Wishlist” button to also appear in the main Shop page, Related Products sections, etc. If disabled, the button will only appear on the single product page.
- “Add to Wishlist” Text in Product listing – If you left the previous option enabled, then you can edit the button’s text here.
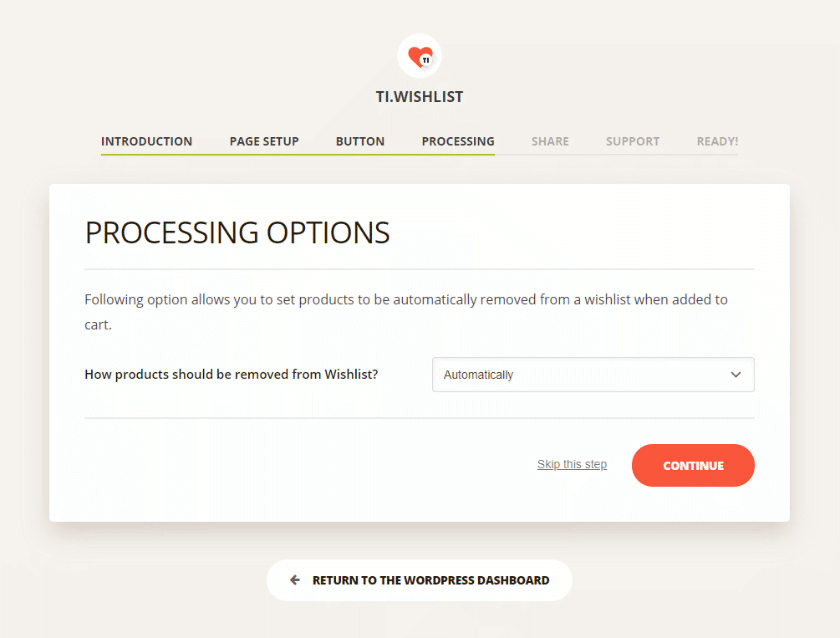
Step 5
At the Processing options, you can select how the products should be removed from the WooCommerce wishlist when the customer adds them to Cart:
- Automatically – This will remove the product from the WooCommerce wishlist if the customer adds it to Cart from the Wishlist page. Cart abandonment should be considered here, though. Not everything that’s added to Cart passes the Checkout as well. Some customers might change their mind or something;
- Manually – This will not remove the product from the WooCommerce wishlist after the customer adds it to Cart. They have to manually remove it from the wishlist.
Step 6
At the Share options, you can allow customers to share their wishlists on social media. Share buttons will appear for the social media websites that you allow. Share by email is also included.

Step 7
At the Support step, you can enable or disable the support chat for the plugin. It’s enabled by default.
Note that this isn’t a chat feature for your customers. It’s a chat feature for you to talk to the TI WooCommerce Wishlist developers, in case you need help.
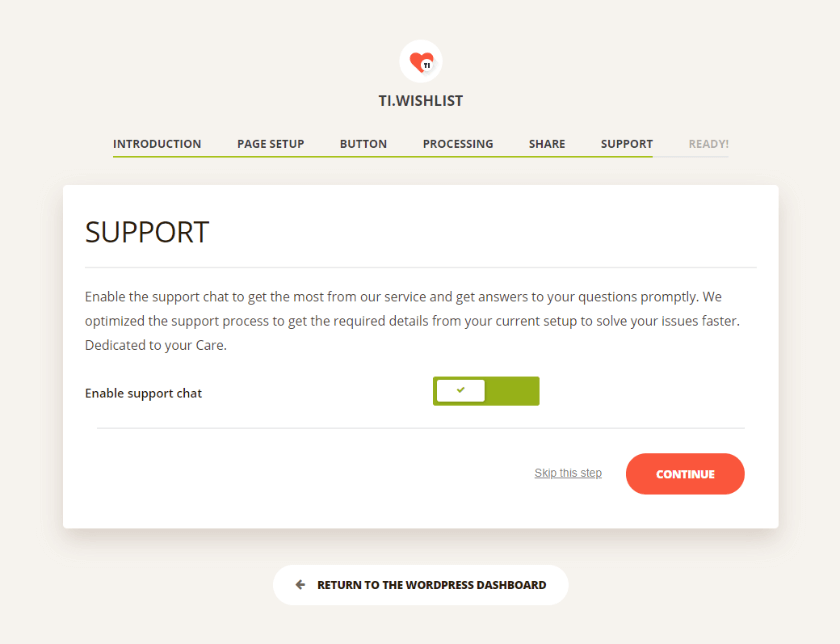
It’s rather annoying because it keeps popping up messages on the General Settings page. Most of you will probably want to keep it disabled.
Step 8
After the Support section, you’ve reached the end of the setup wizard.
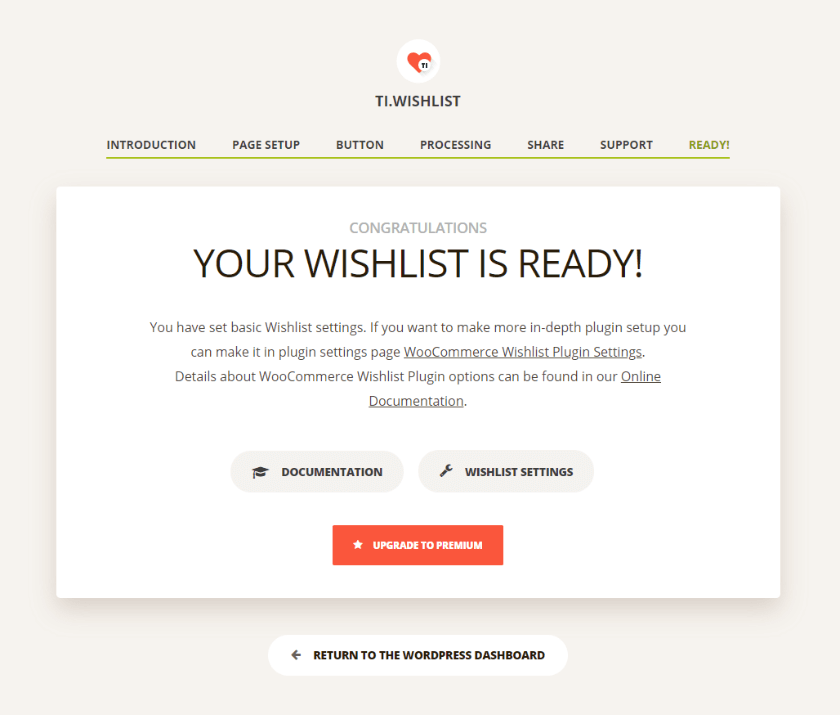
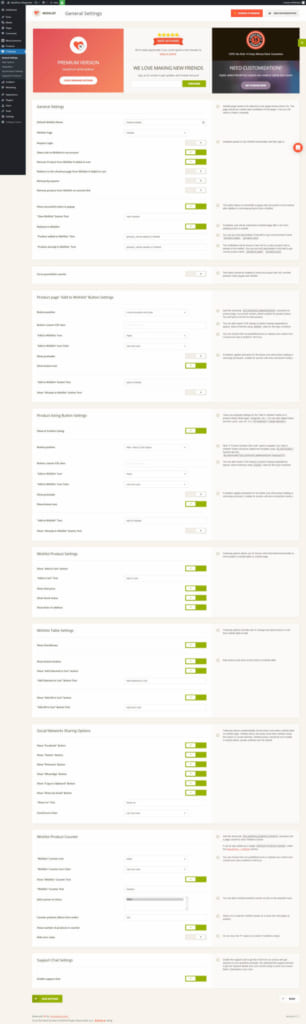
From there, you can check the plugin’s documentation or General Settings page, because these were just the basic ones. If you go to TI Wishlist from your WordPress dashboard’s menu, you’ll see plenty of other settings, including the ones from the setup wizard.
Look at all these options. Pretty cool for the free version. 😀
Looking for an All-in-One WordPress Solution?
ReadyShip offers you ready-made WordPress sites and blogs, plus high-quality managed AWS hosting with free SSL and CDN, at no initial cost!
A Look at the WooCommerce Wishlist on the Front-End
So, since we’ve performed the basic setup for the plugin, the WooCommerce wishlist was successfully added and ready to go. Let’s see how it looks.
For my examples, I installed Storefront, the official WooCommerce theme, which is also free. It’s important to choose a WordPress theme that’s compatible with WooCommerce.
On the ReadyShip marketplace, you can also find some turnkey WordPress websites that have online stores based on WooCommerce. They are ready to deploy with virtually everything you need, saving you time and headaches.
The Add to Wishlist button
Here’s how the “Add to Wishlist” button looks like on the WooCommerce Shop page.
Note that you need to leave Show in Product Listing enabled for this, as you can see in step 4. Otherwise, they won’t appear there.
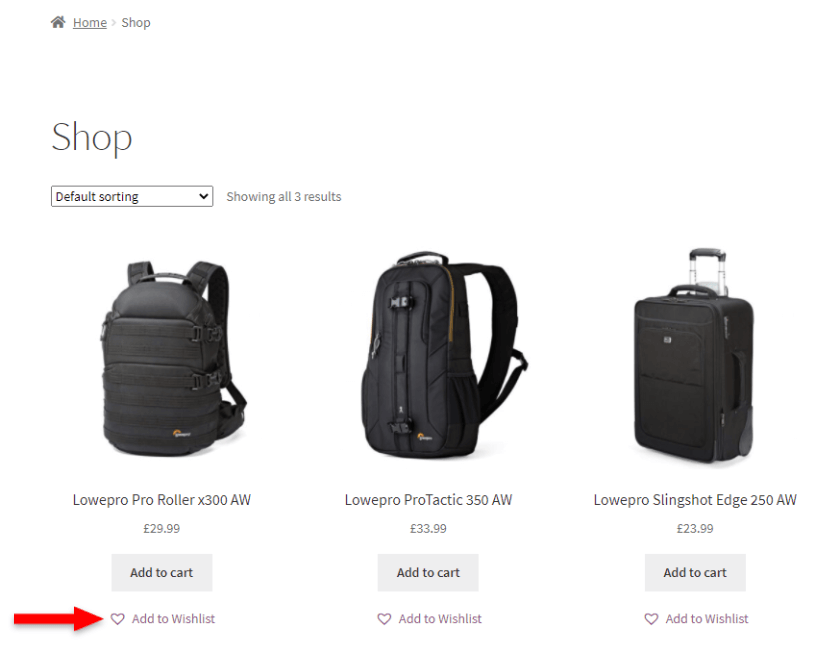
As you can see, the “Add to Wishlist” button appears nicely under the “Add to Cart” button. It also has a heart icon that you can disable or change with another one from the settings.
Remember that you can select a different position for the button, as well as changing its text. You can do it from the setup wizard or the settings page.
Here’s how the “Add to Wishlist” button looks like on the WooCommerce single product page.
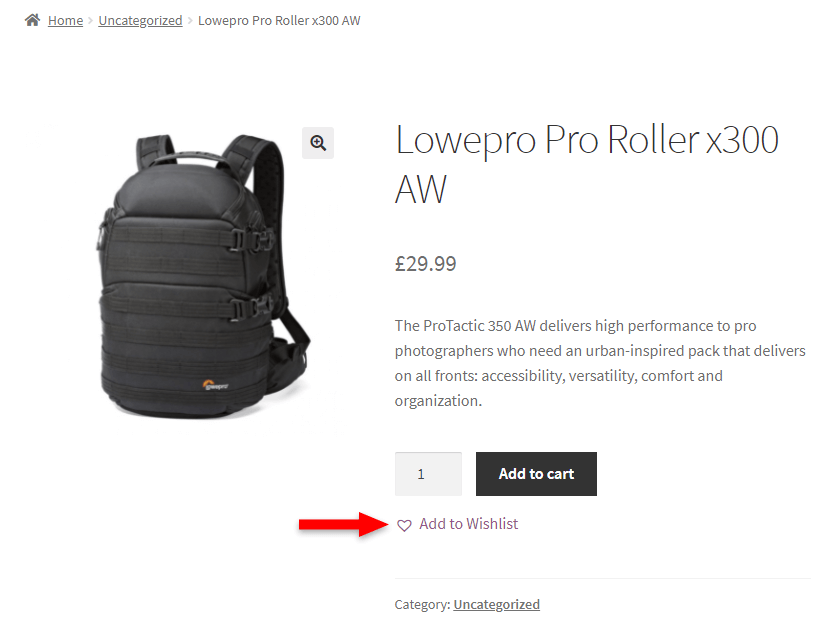
If you disable Show in Product Listing, that is the only place where the button will appear.
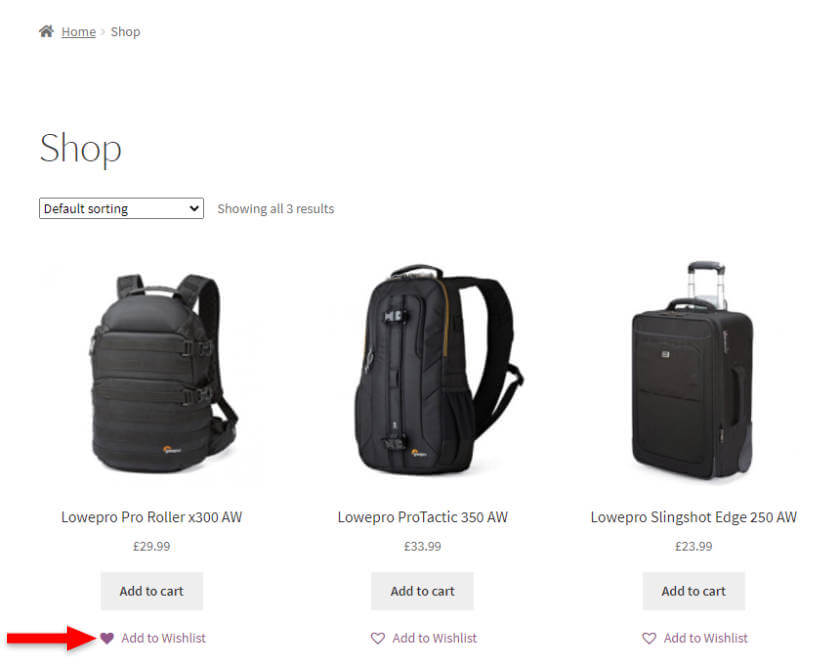
When a product is added to the WooCommerce wishlist, the heart will be filled with color. So, the customers will see if they already added a product to their wishlist.
The WooCommerce wishlist page
Here’s how the WooCommerce wishlist page looks like when products are added to it.
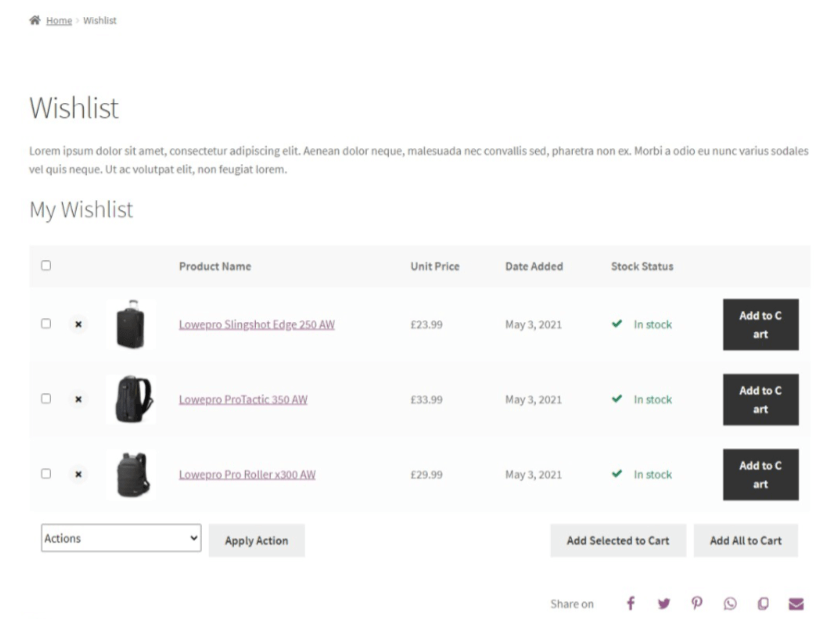
As you can see, the plugin allows customers to perform different actions on the WooCommerce wishlist page, such as:
- Remove selected products from the wishlist;
- Add selected products to Cart;
- Add all the products to Cart.
The share buttons also appear at the bottom so that customers can share their wishlist with friends and family.
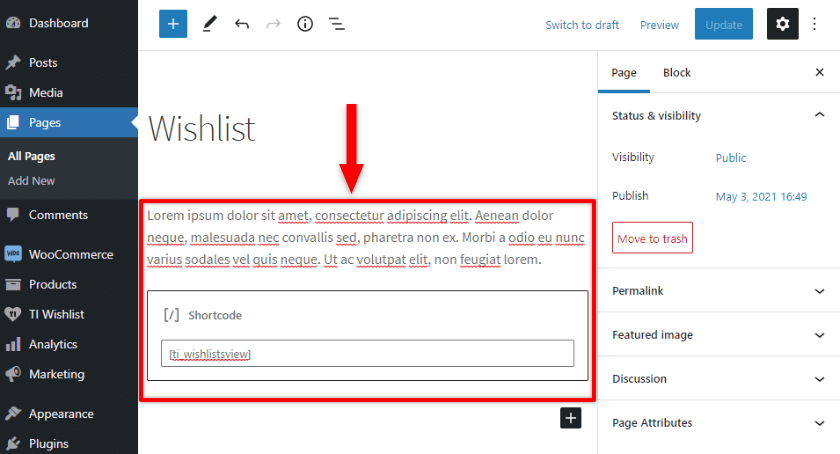
If you want to add some text after the page title – “Wishlist”, in this case – you can do so by editing it in the Pages section from your WordPress dashboard.
Add a paragraph block before the shortcode that’s added there automatically when the TI WooCommerce Wishlist plugin created the page during the setup wizard.
Looking for an All-in-One WordPress Solution?
ReadyShip offers you ready-made WordPress sites and blogs, plus high-quality managed AWS hosting with free SSL and CDN, at no initial cost!
The End
A wishlist is a very important part of your online store, so you should definitely not skip it, especially when it’s so easy to add a wishlist in WooCommerce with this awesome and free plugin.
Both you and your customers will benefit greatly from it.
If you have questions or thoughts, feel free to drop a comment below.