Nowadays, more and more WordPress web hosts automatically install WordPress for you after you purchase a plan. For example, on ReadyShip, when you purchase a turnkey WordPress website or blog, you get WordPress pre-installed, as well as a theme and plugins!
But there are times when you have to install WordPress yourself. And if you happen to be on a Shared web host, as many of you are, you’ll most likely have access to cPanel, where you can use Softaculous to easily do the job.
And that’s exactly what I’ll show you in this step-by-step tutorial.
Looking for an All-in-One WordPress Solution?
ReadyShip offers you ready-made WordPress sites and blogs, plus high-quality managed AWS hosting with free SSL and CDN, at no initial cost!
How to Install WordPress with Softaculous
The cPanel interface differs from host to host. So, yours might not look exactly like the one in my screenshots, but all the tools should be there and easy to find.
I strongly recommend having an SSL certificate installed on your domain before installing WordPress. You’ll save yourself the trouble of moving everything from HTTP to HTTPS. Many web hosts provide them for free. If not sure, read their documentation or check with the support.
Step 1
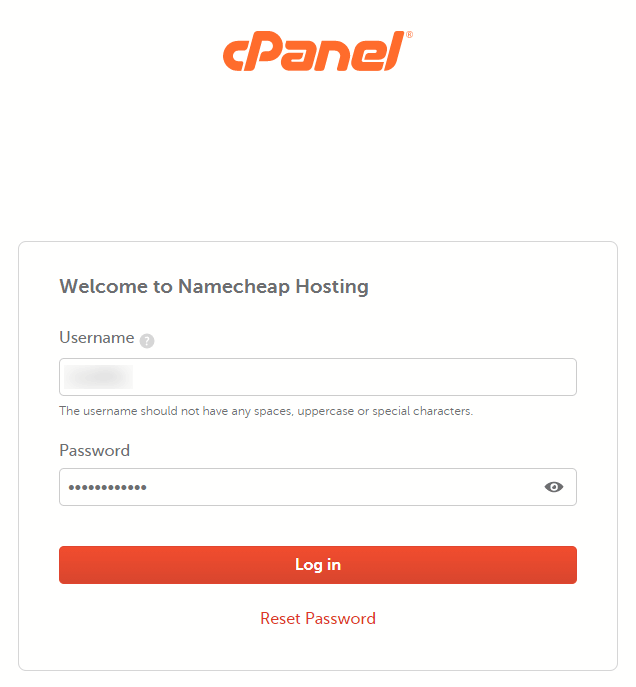
Access cPanel. Usually, you can simply access it by adding this slug – /cpanel – after your domain (e.g. example.com/cpanel).
You’ll need to know your username and password to log in. Usually, the web host will send you an email with the necessary information about your hosting account. If you can’t find any, read their documentation, or contact support to ask them how to find your login information.
Step 2
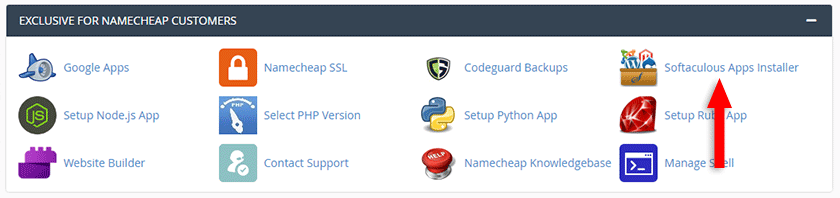
Look for the Softaculous Apps Installer and click on it. In some cases, it might be simply named Softaculous.
Step 3
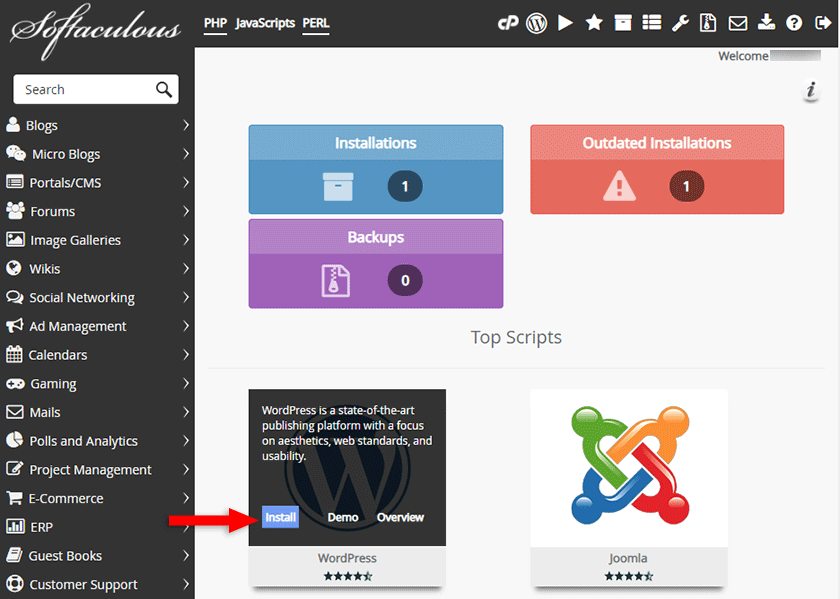
Hover over the WordPress box and click on the Install button.
Step 4
Go through the Softaculous setup settings.
What you see in the screenshot are the default settings, so don’t follow those. Follow the instructions I wrote below.
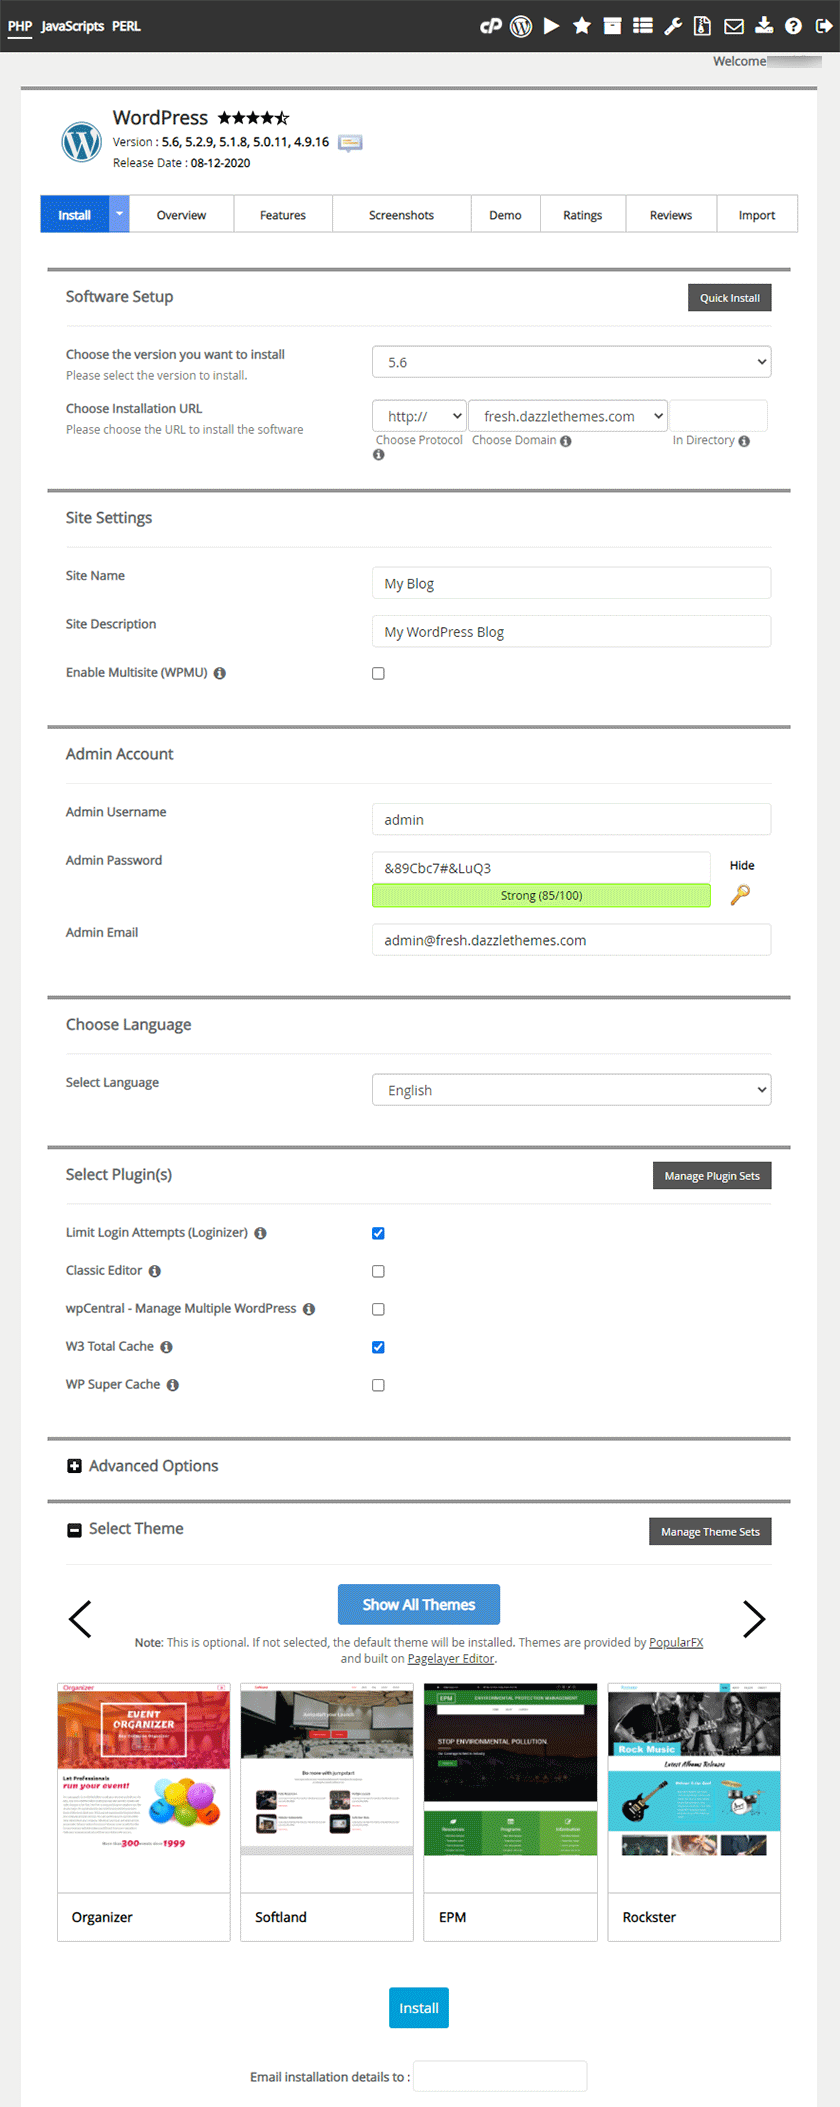
Software Setup
- Choose the version you want to install – Normally, it automatically selects the latest WordPress version. You can check the latest WordPress version yourself, to be sure. And you can always update WordPress once you’re in your dashboard.
- Choose Installation URL:
- Choose Protocol – As mentioned above, I strongly recommend having an SSL certificate installed on your domain before installing WordPress with Softaculous, so you can select the
https://Protocol, instead of the defaulthttp://. So, if you have an SSL certificate, selecthttps://; otherwise, leave the defaulthttp://. You can also choose if you want thewwwornon-wwwversion (e.g.https://example.comorhttps://www.example.com). - Choose Domain – In case you have more domains or subdomains, choose the one where you want Softaculous to install WordPress on.
- In Directory – Leave blank if you want WordPress to be installed on your root domain (e.g.
example.com). This means that your homepage will be on your root domain, not in a subdirectory, such asexample.com/wordpress/or whatever you might choose. In most cases, that should be left blank.
- Choose Protocol – As mentioned above, I strongly recommend having an SSL certificate installed on your domain before installing WordPress with Softaculous, so you can select the
Site Settings
- Site Name and Site Description – You can edit those in your WordPress settings when you start building your website. Don’t focus on them now. You can leave the default values.
- Enable Multisite (WPMU) – Multisite allows you to have multiple websites that share a single WordPress installation. Don’t enable it if you’re not familiar with this feature. You can always enable it after installing WordPress, if needed.
Admin Account
- Admin Username – For security reasons, don’t ever use
adminas a username. So, change the default username with something else. - Admin Password – Choose a strong password, the type that you can’t remember by heart 🙂 .
- Admin Email – This email address will be used to receive notifications from your WordPress website. It can also be used, by default, when you add a contact form in WordPress. You can also use it to log in, instead of the username.
Choose Language
- Select Language – The language you select here will be used to translate your dashboard and the front-end parts of your website that are handled by WordPress. Some themes and plugins might automatically make use of this feature as well.
Select Plugins – Deselect whatever is selected by default. You can install plugins in WordPress after you’ve set it up.
Advanced Options – Leave the default settings. Or, you could enable Automated backups, but I think it’s safer to use something like UpdraftPlus to backup WordPress to remote storage.
Select Theme – Don’t select any. You can easily install or upload themes after you’ve finished installing WordPress with Softaculous.
Email installation details to – If you want to receive the installation details, such as the login information, add your email address there.
Once you’re done, click the Install button.
Step 5
Wait for the installation process to finish. After it’s completed, you should see a success message, along with the URLs to your domain and login page.
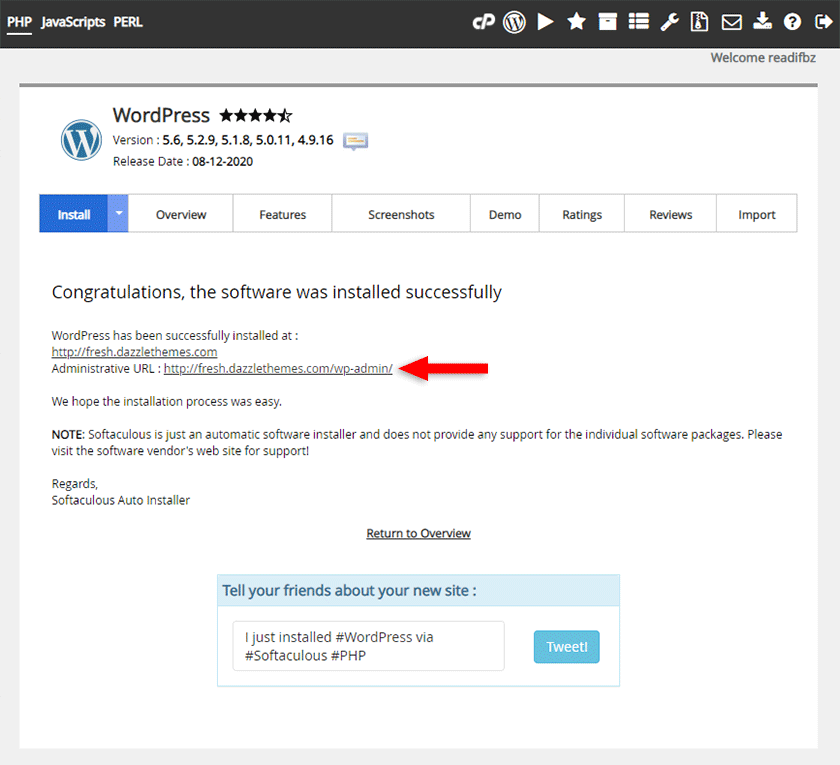
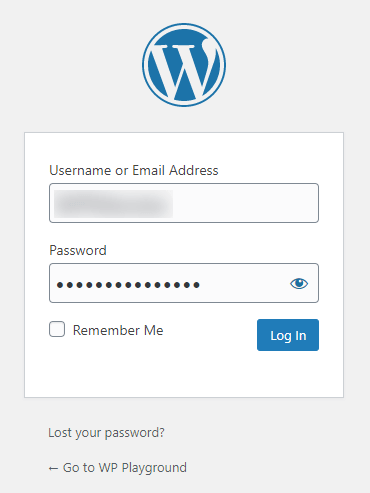
Click the Administrative URL to go to the WordPress login page. If you’re not automatically logged in, add the username (or email address) and password that you added in the Softaculous setup process (step 4).
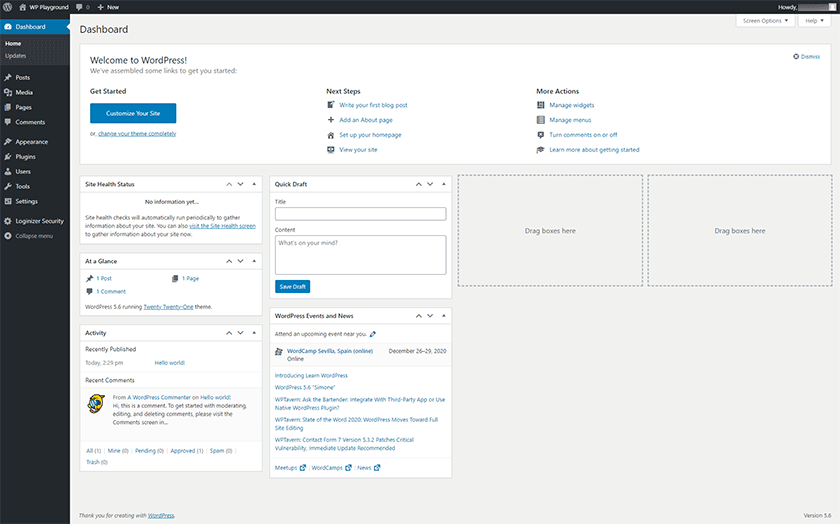
After logging in, you’ll see your WordPress dashboard, where all the magic happens. 🧙
Before you start installing a theme and plugins, I recommend going through my list of important things to do after installing WordPress. Then, you should also check my list of essential and free WordPress plugins.
And if you haven’t decided on a theme yet, here are several places where you can find free and paid WordPress themes.
Looking to Buy or Sell WordPress Sites?
At ReadyShip, we offer an all-in-one WordPress solution for those looking to start a blog or site, as well as the opportunity for WordPress developers or professionals to sell their products!
The End
I hope that my tutorial made it easy for you to install WordPress with Softaculous, and that everything went smoothly, without any pesky errors.
If you have questions or thoughts, don’t hesitate to leave a comment below.