
In a previous tutorial, I’ve shown you how to set up Google Analytics 4 for WordPress. In this one, I’ll show you how to add your WordPress site to Google Search Console, which is another crucial tool for SEO (Search Engine Optimization).
Unlike Google Analytics, Google Search Console offers you reports on your WordPress site’s performance, rankings, and any issues that it might have.
It’s always best to have both of them set up for your WordPress site because you get different types of useful information.
What Is Google Search Console
Search Console is a priceless tool provided for free by – you guessed – Google. It provides valuable SEO information about your WordPress site, such as:
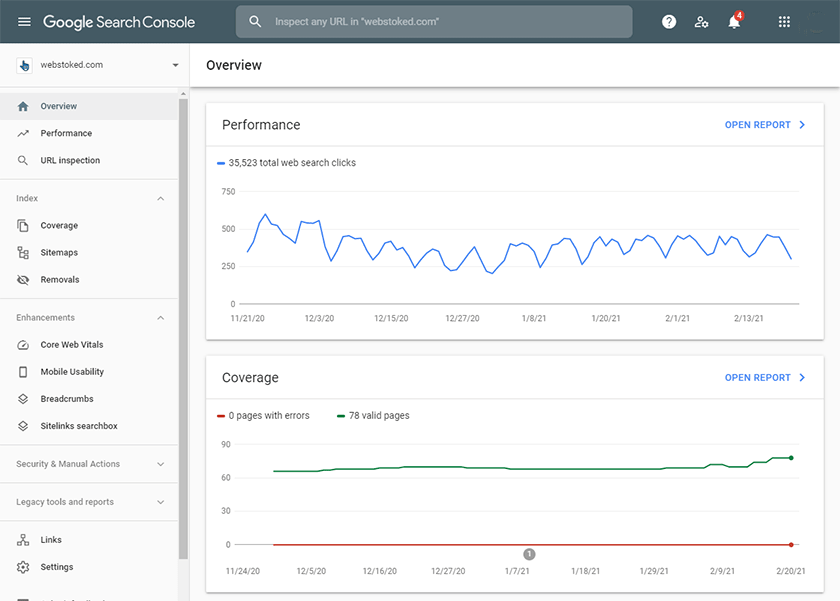
- Performance: It shows you how your WordPress website performs in search results – how many impressions it has, how many clicks, or on what page it ranks for different keywords;
- Backlinks: It shows you what sites are linking to you, and what they are linking to;
- Mobile usability: It lets you know if and what problems occur with your WordPress site when it’s displayed on mobile devices;
- Errors and warnings: Google Search Console will also let you know if there’s something wrong with your site, such as indexing or crawling issues, 404 “Page not found” errors, and more;
- Core web vitals: This is an important metric and ranking signal that will be implemented starting with May 21, 2021. It focuses on user experience, meaning: loading time, visual stability, and interactivity. Nailing this with a WordPress site won’t be easy, especially on mobile devices. You’ll need to optimize it properly – choose the right WordPress theme and hosting, optimize the content (e.g. images), use as few plugins as possible, and so on.
Now, let’s get to work, shall we?
Looking for an All-in-One WordPress Solution?
ReadyShip offers you ready-made WordPress sites and blogs, plus high-quality managed AWS hosting with free SSL and CDN, at no initial cost!
Add Your WordPress Site to Google Search Console
Adding your WordPress site to Google Search Console is pretty straightforward, except for the verification process, which might frustrate beginners a bit.
Step 1
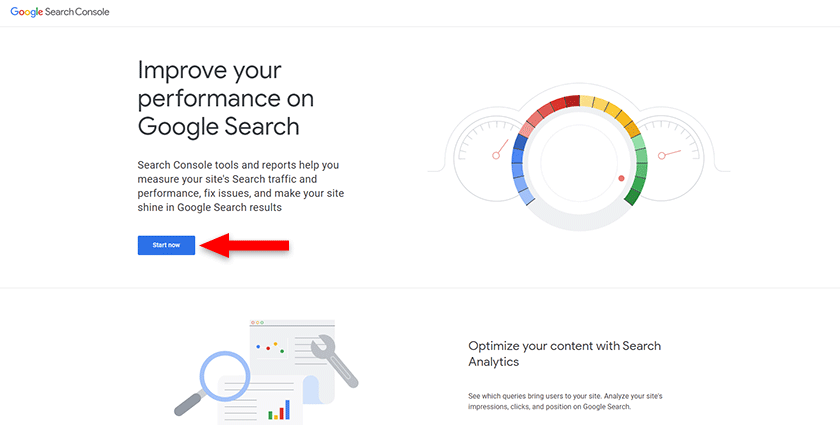
Assuming that you already have a Google account created, go to Google Search Console and click on the Start Now button.
Step 2
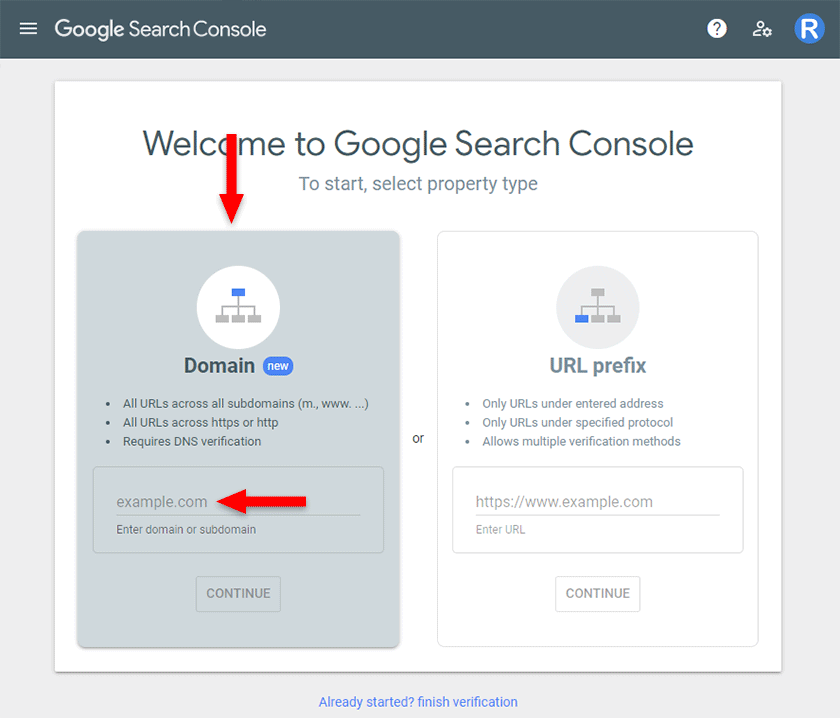
Here, you have to choose between two property types:
- Domain: It includes your domain, all subdomains (
www,m, etc.), and protocols (http,https,ftp). So, basically, this covers everything. Therefore, you don’t have to worry about it, especially in the future when you might want to add a subdomain or switch fromwwwtonon-wwwor vice-versa; - URL prefix: This only includes URLs with the specified prefix. For example, it will treat
https://example.com/my-pagedifferently thanhttps://www.example.com/my-pagebecause one link haswwwand the other doesn’t.
So, unless you need to go with URL prefix for whatever reason, I recommend always choosing the Domain property. That’s what I’ll use for this tutorial.
There are two downsides to this property, though:
- You can’t connect your Google Search Console account to Google Analytics Universal, which is the version before Google Analytics 4. Some might still use or need that;
- It only allows verification via DNS, which is more tricky for beginners.
That being said, choose the Domain property, type in your domain without www, http, or https, and click on the Continue button.
Step 3
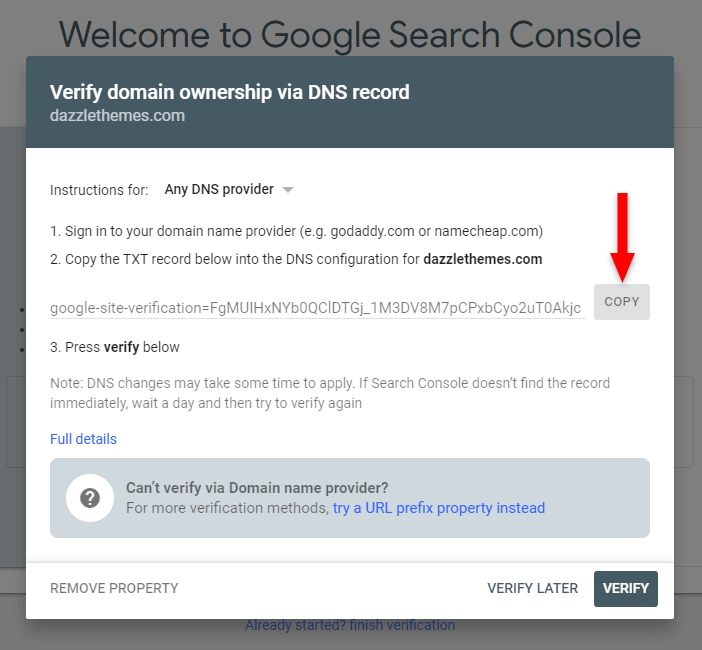
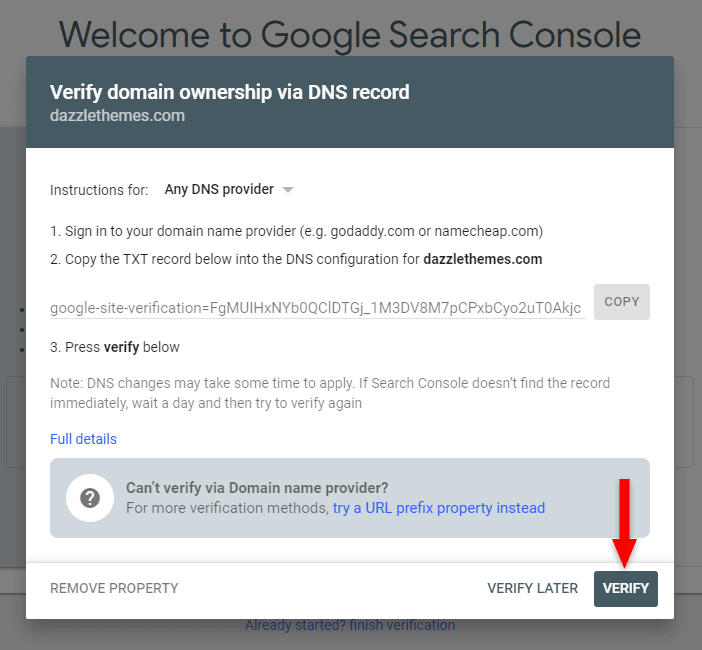
A popup will appear, requiring you to verify your WordPress site by copying a TXT record on your DNS (Domain Name System).
Now, this is where it gets tricky, mainly for beginners. And I can’t help you with details because there’s no one-size-fits-all solution.
It depends on:
- Where you have registered your domain;
- If and what web host you’ve connected the domain to;
- If you’re using cPanel or another control panel on your web host.
So, if you’re a beginner, your best bet is to contact the support of the following, and ask them to do it for you or offer some guidance:
- Your domain registrar (Godaddy, Namecheap, etc.) if you haven’t connected the domain to a web host yet. In some cases, the web host is also a domain registrar, and you get 2-in-1.
- Your web host if you’ve connected the domain to it;
- Any CDN (Content Delivery Network) service that requires you to change the Nameservers on your domain registrar with theirs. So, for example, if you’re using Cloudflare, then you’ll have to add the TXT record there.
Google also tries to help you by providing some guides for a handful of DNS providers/domain registrars. Click on the drop-down menu next to Instructions for to view them.

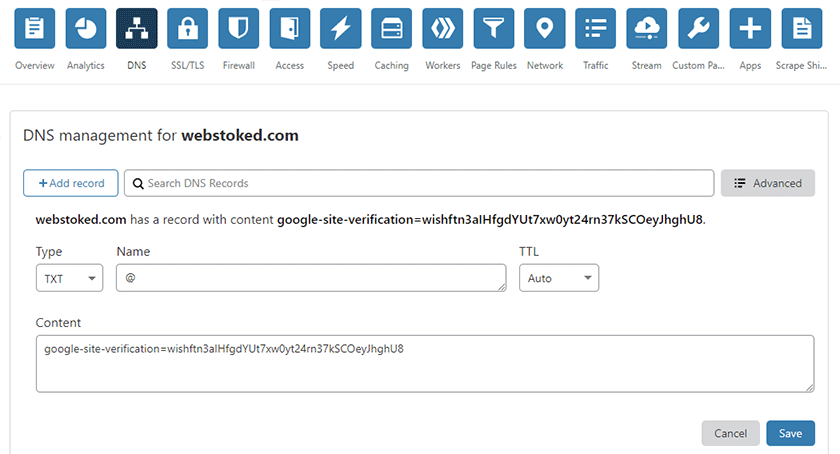
If you’re more experienced, and you know where and how to access your domain’s DNS records, then all you have to do is to:
- Create a TXT record;
- Under Host, or Name, or whatever the field might be called, add your domain (e.g.
example.com) withoutwww,http, orhttps. In some cases, you can also add@, which stands forroot, which is your domain; - Leave the TTL to Automatic, if it’s available, or add/select 3600 seconds or 1 hour, depending on the option. If you have to add it manually, remember that the time has to be in seconds.
- In the Value, or Record, or Content, or whatever they might call the field, add the code copied from the Google Search Console verification popup (see the above image).
Here’s how it looks in Cloudflare:
Leave the record there even after you’ve verified your WordPress site in Google Search Console.
Step 4
After you’ve created the TXT record, you have to wait a while until the new DNS record is propagated. It might take anywhere between a minute or 24 hours.
For me, it always took about a minute. I never had to wait long.
So, after waiting at least a minute, click the Verify button to see if your WordPress site got verified.
If it doesn’t get verified, you can leave the tab open and just wait some more, or click on Verify Later.
Step 5
When it gets verified, a popup with Ownership verified will appear, and your WordPress site will be added to Google Search Console.

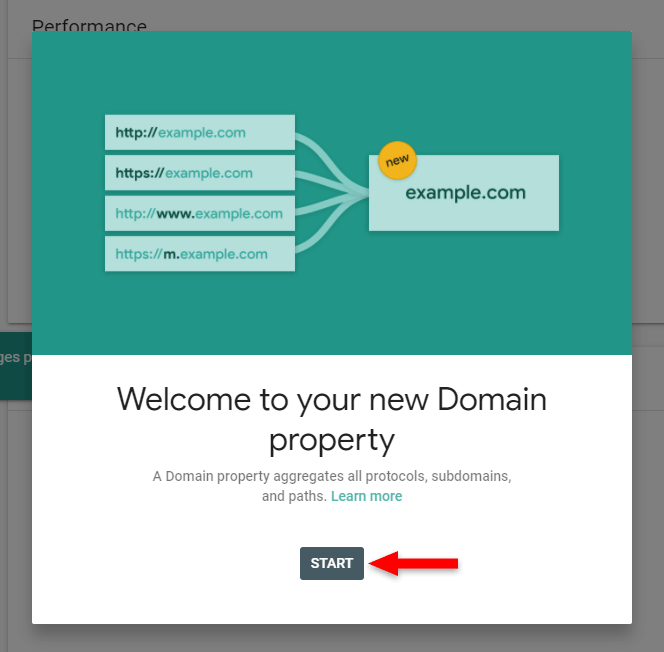
Click on Go to property, which will probably prompt you with a Welcome popup. Click the Start button on that.
Step 6
The last thing you have to do to properly add your WordPress site to Google Search Console is to submit your sitemap. A sitemap is like a blueprint that helps search engines to discover, crawl, and index your web pages.
Starting with the 5.5 version, WordPress provides a built-in sitemap, which you can find by adding /wp-sitemap.xml after your domain, like this:
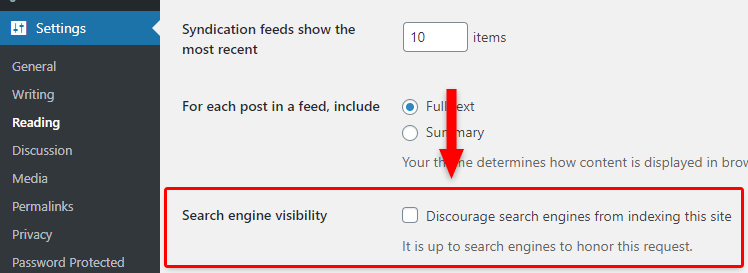
https://example.com/wp-sitemap.xmlNote that if search engines are discouraged from indexing your WordPress site, the default sitemap won’t appear. It will return a 404 “Page not found” error.
That setting is found in WordPress, in Settings > Reading > Search engine visibility. It’s disabled by default, but who knows how it might end up enabled.
For the default WordPress sitemap to work, you also need to have a PHP extension installed, called SimpleXML. Otherwise, you’ll get a 501 “Not implemented” status code. It’s your web host’s job to have that extension installed. Virtually all have it, so it shouldn’t be an issue.
Now, most of you will likely use an SEO plugin. Those plugins might work with WordPress’ default sitemap or create their own. Therefore, the link to the sitemap might differ.
For example, the sitemap generated by the popular Yoast SEO plugin is found at /sitemap_index.xml. Other plugins might generate a sitemap at /sitemap.xml.
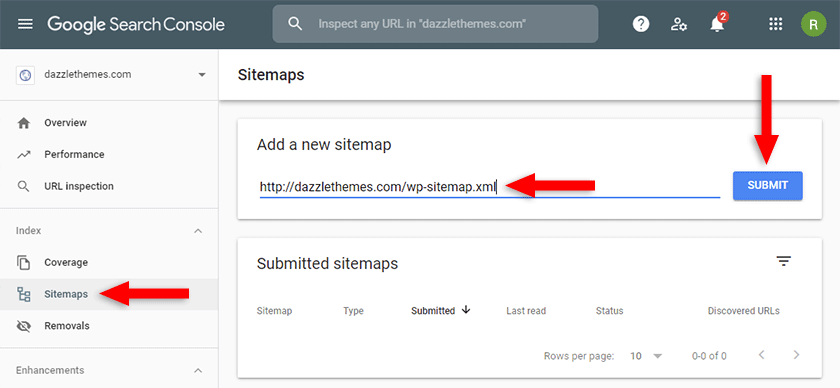
So, find out what’s the correct link to your sitemap, then:
- Copy it;
- Go to Google Search Console and select Sitemaps from the menu;
- Paste the link in the Add a new sitemap field;
- Click Submit.
After submitting your sitemap, it will appear below, with a Success status, hopefully. 🙂
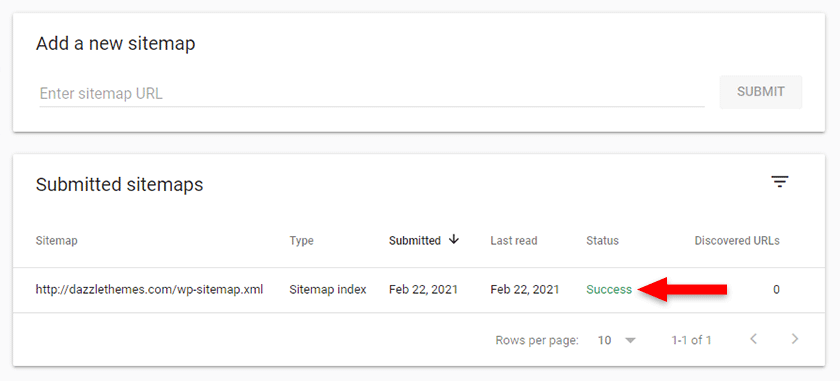
In rare cases, it might take a bit for Google to fetch it, and you might even see a Couldn’t fetch status for a bit. Don’t worry unless it lasts for too many hours. Refresh the page frequently to see if the status has changed.
Looking to Buy or Sell WordPress Sites?
At ReadyShip, we offer an all-in-one WordPress solution for those looking to start a blog or site, as well as the opportunity for WordPress developers or professionals to sell their products!
The End
That’s it! Now you know how to add your WordPress site to Google Search Console.
You can easily add future sites directly from your Search Console account. The process will be the same starting from the second step in my tutorial.
If you have questions or thoughts, feel free to leave a comment below.